Ваша корзина пока пуста,
надо срочно сюда
что-нибудь добавить
надо срочно сюда
что-нибудь добавить


Самые продаваемые в марте 2026 года шаблоны и дополнения: LiveYML, GigantFilter, Автоматические уведомления в Max, шаблон Revolution.

Новинки за март 2026 года: GigantFilter, Купон на странице товара, MAX уведомления, Анти-Вирус OpenCart.

Актуальные скидки на модули оплаты, выгрузки в Яндекс, модули от Serbulenko и opencart-cms.ru, шаблон Юнишоп2 и фильтр GigantFilter.
Вполне типовая задача - вставить какой-нибудь виджет, по типу Яндекс.Карты или каких-нибудь соц.сетей, в определённый макет OpenCart. И обычно она решается тем, что приходится лезть в код магазина, что неудобно и может приводить к разного рода проблемам с модификаторами и прочими вещами.
Однако существует способ сделать это гораздо проще - это модуль IMAnyJsCss - Простой способ добавить HTML, JS и CSS.
И далее рассмотрим простой пример того, как можно вывести виджет Яндекс.Карт в карточке товаров через добавление модуля IMAnyJsCss в макет Товаров.
Шаг 1. Получите код виджета Яндекс.Карты.
Для примера сгенерировал код карты для случайного города, а именно "Тихвин".
Сам код:
<div style="position:relative;overflow:hidden;"><a href="https://yandex.ru/maps?utm_medium=mapframe&utm_source=maps" style="color:#eee;font-size:12px;position:absolute;top:0px;">Яндекс Карты</a><a href="https://yandex.ru/maps/geo/tikhvin/53149626/?ll=33.664068%2C59.475135&utm_medium=mapframe&utm_source=maps&z=7" style="color:#eee;font-size:12px;position:absolute;top:14px;">Тихвин — Яндекс Карты</a><iframe src="https://yandex.ru/map-widget/v1/?ll=33.664068%2C59.475135&mode=poi&poi%5Bpoint%5D=33.542026%2C59.644153&poi%5Buri%5D=ymapsbm1%3A%2F%2Fgeo%3Fdata%3DCgg1MzE0OTYyNhJF0KDQvtGB0YHQuNGPLCDQm9C10L3QuNC90LPRgNCw0LTRgdC60LDRjyDQvtCx0LvQsNGB0YLRjCwg0KLQuNGF0LLQuNC9IgoNHSsGQhWtk25C&z=7" width="100%" height="400" frameborder="0" allowfullscreen="true" style="position:relative;"></iframe></div>
Шаг 2. Установите модуль IMAnyJsCss и добавьте модуль для вывода.
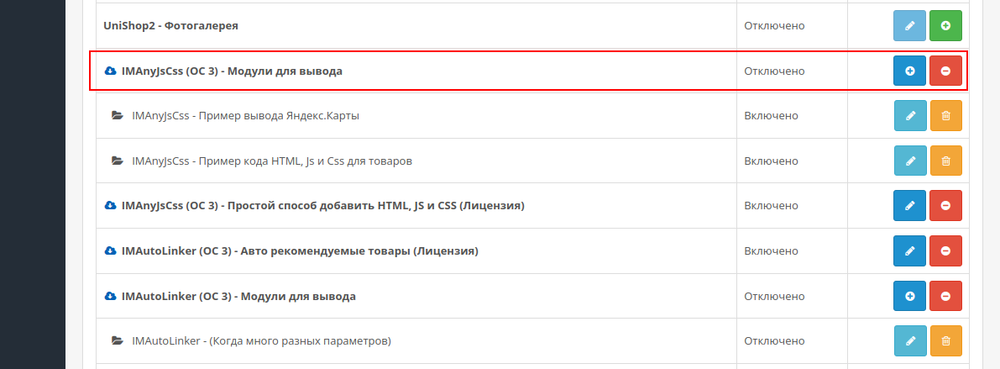
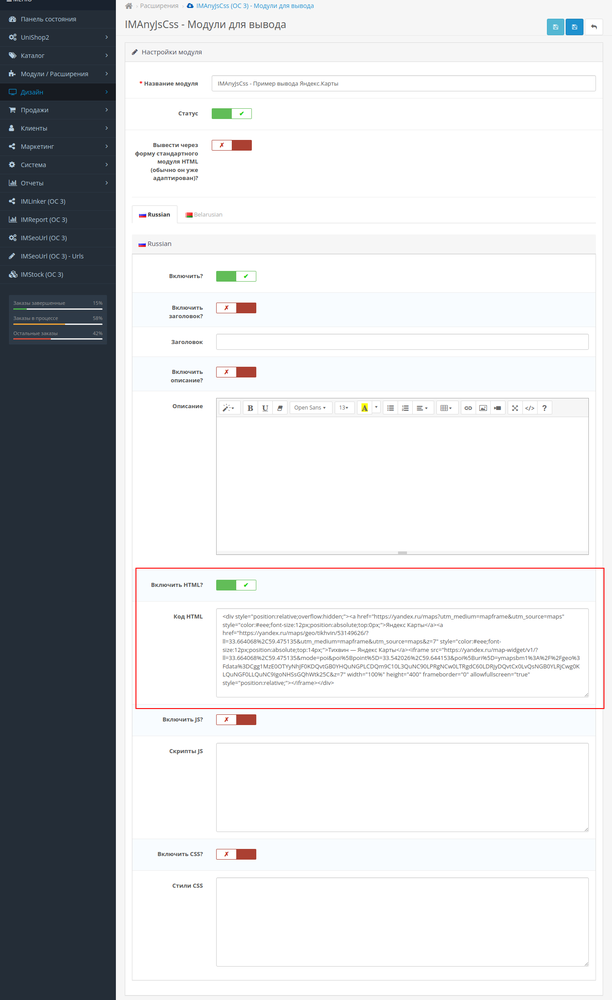
Шаг 3. В поле Код HTML укажите нужный код (в примере это код из шага 1).
Остальные поля, если они вам не нужны, можно отключить.
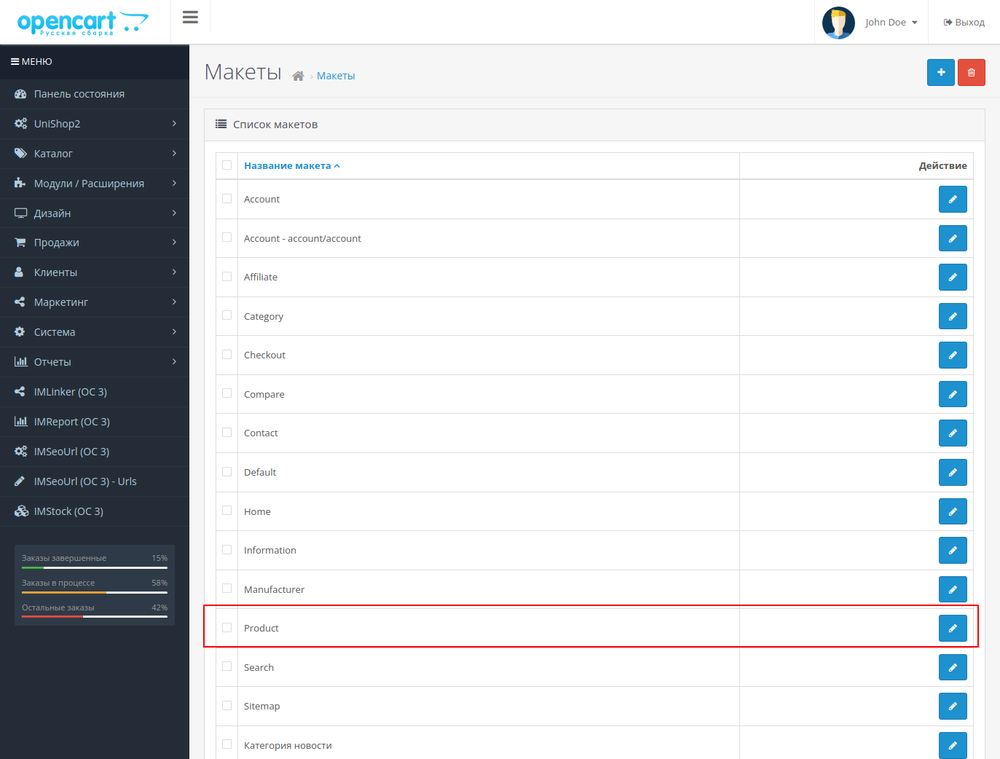
Шаг 4. Откройте макет товаров.
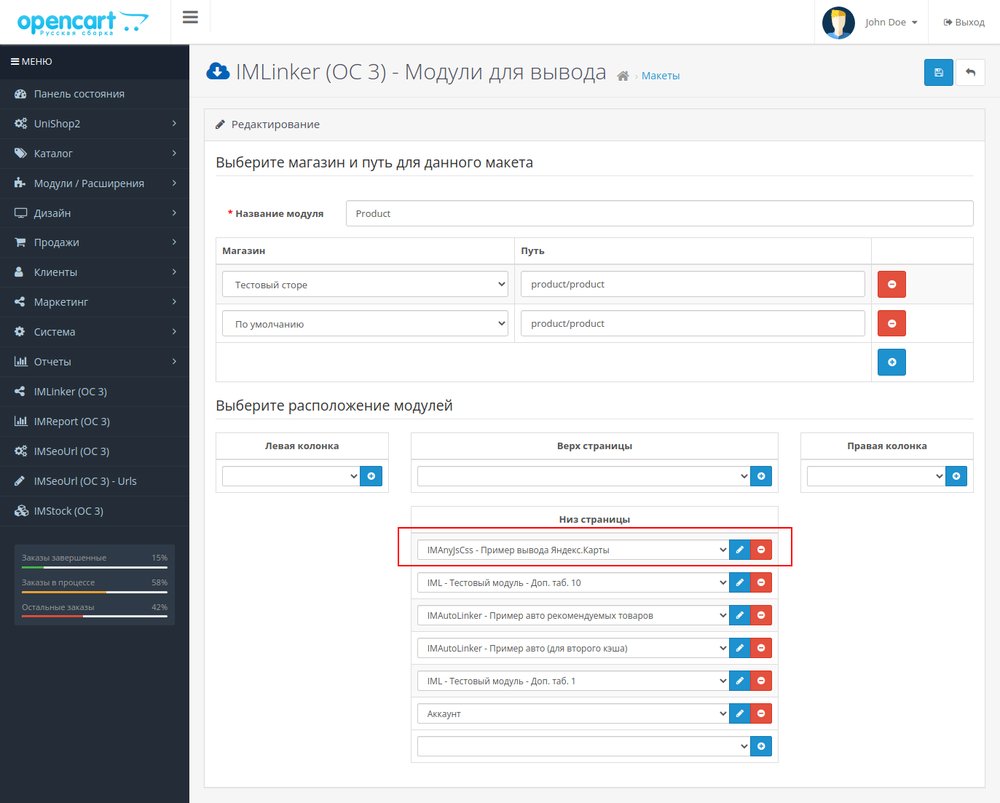
Шаг 5. Добавьте модуль вывода IMAnyJsCss.
Теперь откройте любой товар. В данном случае пример с шаблоном UniShop2.
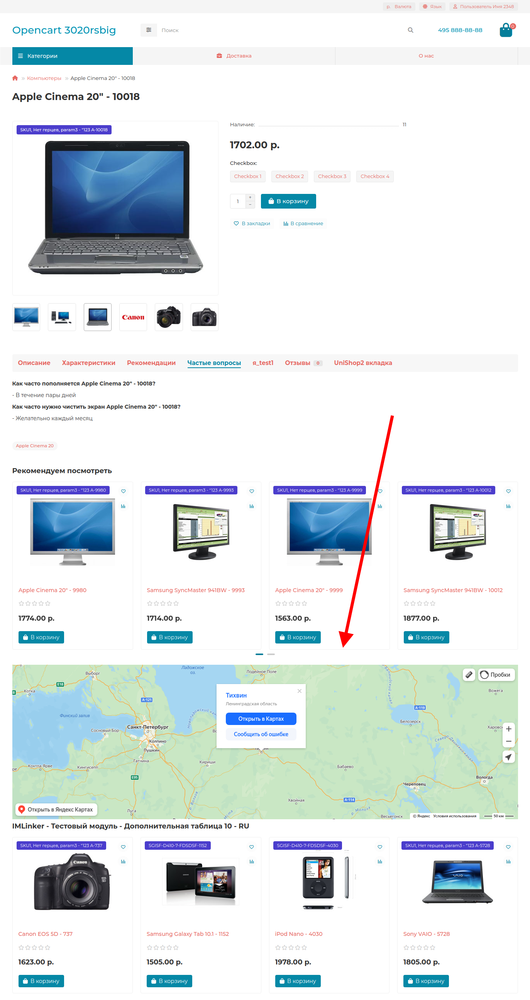
Как видите, добавить виджет с помощью модуля IMAnyJsCss очень просто и задача выполняется буквально за пару минут.
Также советую обратить внимание и на другие возможности модуля: возможность вывода заголовка, описания, отдельного js-скрипта, собственных css-стилей, а также поддержка мультиязычности.


