Your shopping cart is empty!

Каталог дополнений
Useful links
- All news
- All articles
- OpenCart 3 handbook
- Marketplace engine for OpenCart
- Gentleman’s set of modules for OpenCart
- Universal adaptive templates for your online store on OpenCart
- Modules for working with the Max messenger
- Working with AI (artificial intelligence) in OpenCart
- Working with marketplaces Ozone, Wildberries, Yandex.Products and others
How to Install Opencart, Opencart.pro, OcStore
How to Install Opencart, Opencart.pro, OcStore

There are often questions about installing Opencart (Opencart.pro, OcStore) on hosting, so we present you with a small guide with some specific instructions for Timeweb hosting (by the way, we also have a small review of this hosting).
1) First, you need to download the distribution package, which you can do, for example, from this page.
2) After that, unzip the archive and upload the contents of the upload folder to your hosting.
3) In some versions, after copying, you need to rename two files:
config-dist.php
admin/config-dist.php
You need to remove -dist from the name, so the resulting files should be
config.php
admin/config.php
Rename the file .htaccess.txt to .htaccess
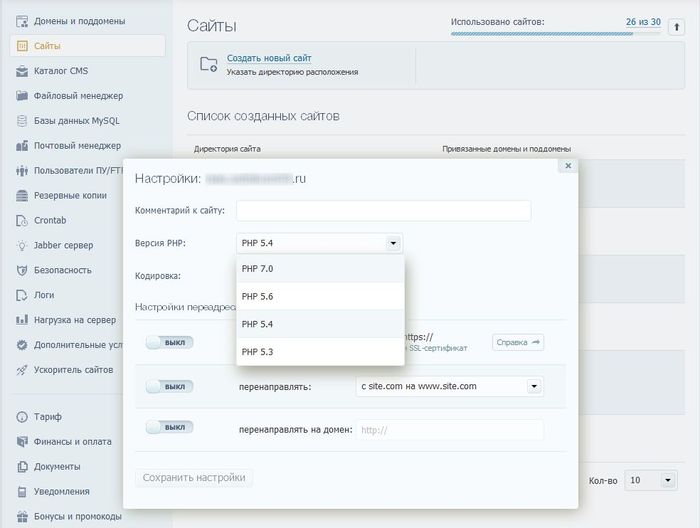
3.1) For Timeweb, additionally, you need to do the following:
Change the PHP version in the site settings to 7.1
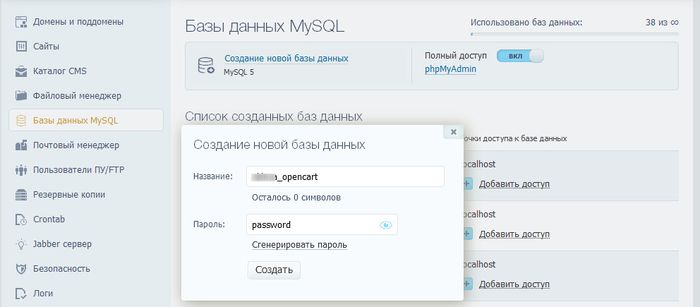
4) Don't forget to create a MySQL database. For Timeweb, this is done as follows:
5) In the browser, go to your-site.ru, and you should see the following:
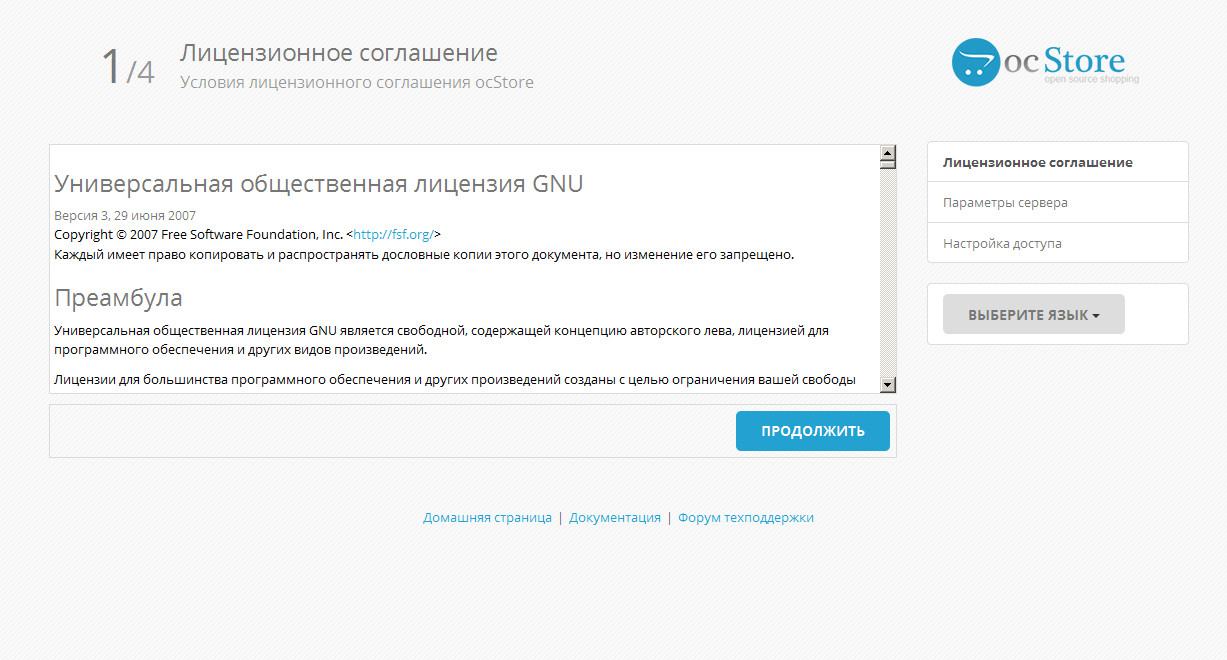
6) Click "Continue".
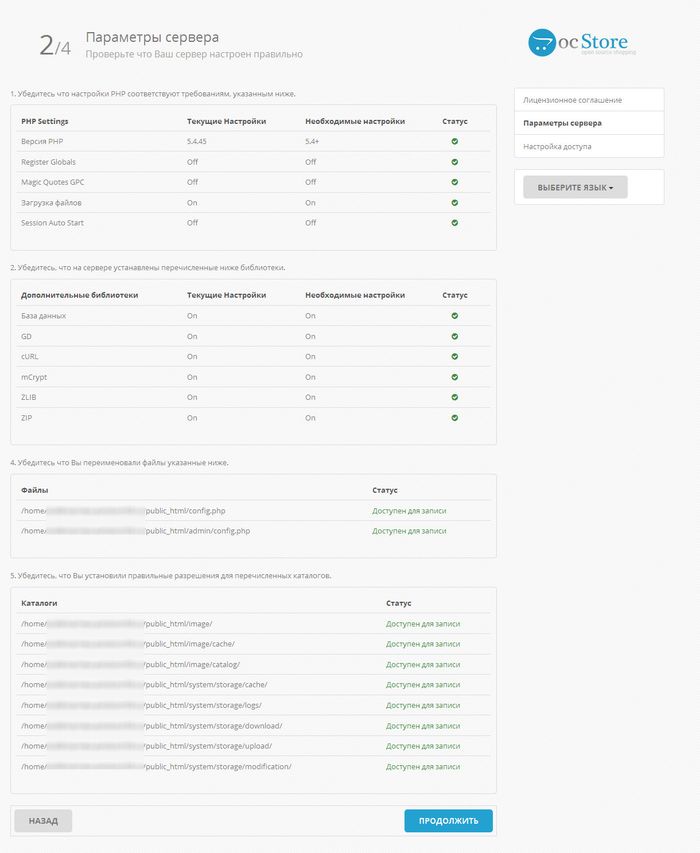
7) Here the installation script checks the settings of your hosting and the permissions of the following folders and files (should be 777):
config.php
admin/config.php
image/
image/cache/
image/catalog/
system/storage/cache/
system/storage/download/
system/storage/logs/
system/storage/modification/
system/storage/upload/
If everything is correct, you should see the following (all green checkmarks):
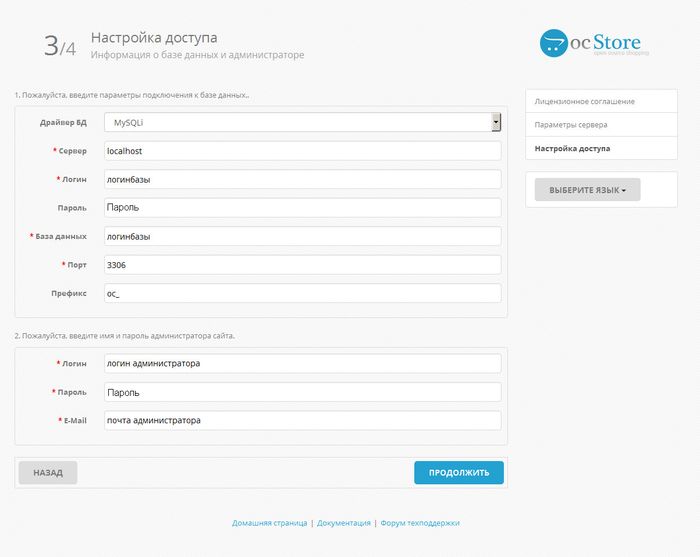
8) Click "Continue" and enter the MySQL database access parameters and administrator registration details:
9) Click "Continue" to proceed to the final screen:

10) Don't forget to delete the following folder from the hosting:
install/
and it's better to set the permissions to 644 for the files:
config.php
admin/config.php
Installation is complete
Recommended to view


Recommended to read


Notice: Error: Could not load template /home/c/cy82003/fungi/public_html/admin/view/template/common/login.tpl! in /home/c/cy82003/fungi/public_html/system/library/template/php.php on line 28
Посмотрел,....по указанному выше пути файл login.tpl отсутствует. Что может быть не так?
На хостинг почему то скопировались далеко не все файлы.
Всё снёс и заново установил.
Так что с php 7.1 так и не работает?
Что может быть не так?
Спрашиваю по той причине что инструкция старая, а за это время уже многое изменилось ...